Before a single print could be sold in an Edo market stall, four different specialists had contributed their expertise. The artist who designed it never touched the wood. The craftsman who carved the wood never designed the image. The printer who pulled the impressions never carved anything. And the publisher who commissioned and sold the work did none of the above. This is how ukiyo-e worked — a collaborative production system of remarkable sophistication that created some of the most beautiful prints in history.
Understanding the ukiyo-e printing process steps changes how you see every print. What looks like a single artist’s vision is actually a relay race between four specialists, each performing their part with extraordinary precision. The image that survives 200 years later carries the fingerprints — sometimes literally — of each of them.
What Is Ukiyo-e and How Was It Made?
Ukiyo-e (浮世絵 — “pictures of the floating world”) was the dominant commercial art form of Edo-period Japan (1603–1868). The “floating world” referred to the world of urban pleasure, fashion, and entertainment — the theaters, teahouses, sumo arenas, and licensed entertainment districts of Edo (Tokyo), Osaka, and Kyoto. Ukiyo-e prints depicted this world: famous actors in their most dramatic roles, celebrated beauties of the entertainment districts, champions of the wrestling ring, and eventually — in the hands of Hokusai and Hiroshige — the landscapes of Japan itself.

At its height, ukiyo-e was a mass market industry. Popular prints were produced in editions of hundreds or thousands. They were affordable — roughly comparable to a bowl of noodles in Edo pricing — and collected across all social classes. The print shops of the Edo entertainment districts were busy, competitive businesses, producing new designs constantly to meet public demand.
Overview of the Ukiyo-e Printing Process Steps
The production of an ukiyo-e print involved five main stages:
- The artist’s line drawing (hanshita — 版下)
- Carving the key block (hangi — 版木)
- Color block separation and approval
- Color registration and multi-block printing (kento — 見当)
- Quality inspection and edition completion
Each of these stages required specific expertise and tools. The stages were sequential and dependent — an error in stage 2 could ruin the entire print. Let’s examine each step in detail.
The Four Specialists Behind One Print
Four distinct roles were required to produce a finished ukiyo-e print:
| Role | Japanese Term | Responsibility |
|---|---|---|
| Publisher | Hanmoto (版元) | Commission, financing, sales, distribution |
| Artist/Designer | Eshi (絵師) | Create the original drawing for carving |
| Block Carver | Horishi (彫師) | Transfer design to wood; carve all blocks |
| Printer | Surishi (摺師) | Apply inks; print all color impressions |
The publisher was the commercial driver — equivalent to a modern art publisher or record label. They commissioned the artist, paid the carvers and printers, and bore the financial risk. They also held the woodblocks as business assets and could reprint editions as demand required.
Ukiyo-e Printing Process Steps in Detail
Step 1: The Artist’s Line Drawing (Hanshita)
The process begins with the artist creating a detailed line drawing on thin, semi-transparent paper called hanshita (版下 — literally “under the block”). This drawing was made with ink on the paper, showing the complete composition in black line only — no color, no shading.
The hanshita was a working document, not a finished artwork. It would be destroyed in the next step. Artists knew this — they didn’t treat the hanshita as precious. It was a precise technical instruction for the carver, not an expression in its own right.
The artist also needed to decide, and often annotate on separate sheets, how many color blocks the print would require and what colors should fall where. A complex print with 12 colors required 12 separate woodblocks. The artist’s initial design determined the entire complexity and cost of production.
Some artists, including Hokusai, created separate color notation sheets specifying the exact color for each area. For a series like Thirty-Six Views of Mount Fuji, maintaining color consistency across an edition of potentially thousands of prints required extremely precise instructions.
Step 2: Carving the Keyblock
The carver (horishi) received the artist’s hanshita and glued it face-down onto a smooth plank of cherrywood. The paper was wet to make it transparent, allowing the lines to show through. The carver then cut away the wood on either side of every line in the design, leaving the lines themselves standing as raised ridges on the block surface.
The key block contained only the black outlines — the same lines that were in the original hanshita. When inked and pressed, it produced a black-line version of the entire design. This keyblock impression was the foundation for all subsequent color work.
The carving was done with a variety of specialized knives and chisels, each suited to different line weights and curve radii. Fine detail work — the individual hairs in a figure’s hairline, the texture of waves, the delicate patterns on fabric — required extremely fine tools and years of trained skill. Top carvers were highly paid specialists who could carve a fine line 0.3mm wide that remained perfectly consistent over many impressions.
The carver also added a crucial feature to the keyblock: the kento registration marks. These were small L-shaped notches cut into two corners of the block. Every subsequent color block was carved with matching kento notches, allowing the paper to be positioned precisely the same way for every impression. Without accurate kento, the colors would not align with the outlines, and the print would be ruined.
Step 3: Color Registration (Kento)
Once the keyblock was complete, the carver made several test prints — called kyōgō-zuri (校合摺, “proof prints”). These were printed lightly on thin paper and given to the artist for color annotation.
The artist marked these proof prints with the exact colors required for each area: “this area should be light blue,” “this area should be deep red,” “this background should be printed with gradation from dark to light.” These annotated proofs then went back to the carver, who created a separate woodblock for each color.
Each color block contained only the areas that would receive that specific color. An area left as white paper was simply not carved at all — the block had no raised surface there, so no ink would be applied. This selective carving, multiplied across 10–15 blocks, created the full color image through additive layering.
The kento registration system was the technical heart of the process. Each block was carved with precisely matching notches, and each sheet of paper was positioned against these notches before printing. A printer working at speed would press 200–300 sheets per hour, each time relying on the kento to ensure perfect color alignment.
Step 4: Multi-Block Color Printing
The printer (surishi) worked at a flat wooden printing table. For each sheet of paper, the following process was repeated for every color block:
- The color block was inked with a specific color using a wide brush
- The paper was positioned against the kento registration notches
- The paper was pressed onto the inked block using a hand tool called a baren — a flat disc made from a coiled bamboo sheath, wrapped in a bamboo leaf
- The paper was lifted and set aside to dry before the next color was added
The baren was a deceptively sophisticated tool. Its flat surface distributed pressure evenly, and its slightly textured surface helped transfer ink uniformly without smearing. Different baren weights were used for different effects — a heavy baren produced rich, saturated color; a lighter touch produced thinner washes. The printer’s skill with the baren was a major factor in print quality.
The printing order mattered. Lighter colors were typically printed first; darker colors went over them later. Some effects — particularly the gradated skies that Hokusai used so effectively — required special techniques: the block was inked with color at one end and the ink was blended toward nothing at the other end (the bokashi technique). This gradient was applied manually with each impression, requiring considerable skill to maintain consistency across an edition.
Step 5: Quality Check and Binding
Finished prints were inspected by the publisher or a designated quality checker. Prints with misregistration, color inconsistencies, smearing, or paper defects were discarded. Acceptable prints were counted, stored flat, and prepared for sale.
For a series like Thirty-Six Views of Mount Fuji, each print in the series might go through 10–15 color impressions. A large edition run of 1,000 copies of a single print would require 10,000–15,000 individual printing operations — each performed by hand, with the same baren, on the same blocks, producing consistent results. The physical endurance this required from printers was considerable.
Woodblocks wore down over time. The finest carving details could be lost after a few hundred impressions. Publishers would commission re-carvings of popular blocks to maintain print quality — meaning that later edition prints of the same design might be technically different from early edition prints, carved by different hands. First-edition prints with fresh blocks are more highly valued by collectors for exactly this reason.
The Process Lives On: Contemporary Practitioners
The traditional ukiyo-e production process has not entirely disappeared. A small number of workshops in Japan — most notably in Tokyo and Kyoto — continue to produce woodblock prints using traditional methods, with hand-carved cherry wood blocks, water-based inks, and baren printing. These contemporary prints are recognizably in the tradition of Edo-period ukiyo-e and command significant prices from collectors who value the handmade quality.
Several artists have used this traditional process to produce original designs — not copies of historical prints, but new works created within the same technical framework. This living tradition connects directly to the workshops where Hokusai’s prints were made nearly 200 years ago.
Summary: Ukiyo-e Printing Process Steps and the Art’s Digital Future
The ukiyo-e printing process steps represent one of the most sophisticated pre-industrial printmaking systems ever developed. Four specialists working in precise sequence, using hand tools refined over generations, produced prints of extraordinary beauty and consistency at commercial scale. The system combined division of labor with artisanal skill, mass production with individual quality — a combination that remains impressive even by contemporary standards.
Understanding this process deepens appreciation for what you’re looking at when you see an Edo-period woodblock print. It’s not just one artist’s vision — it’s a system product, carrying the skill and judgment of carvers and printers whose names are usually unknown, whose contributions are invisible but essential.
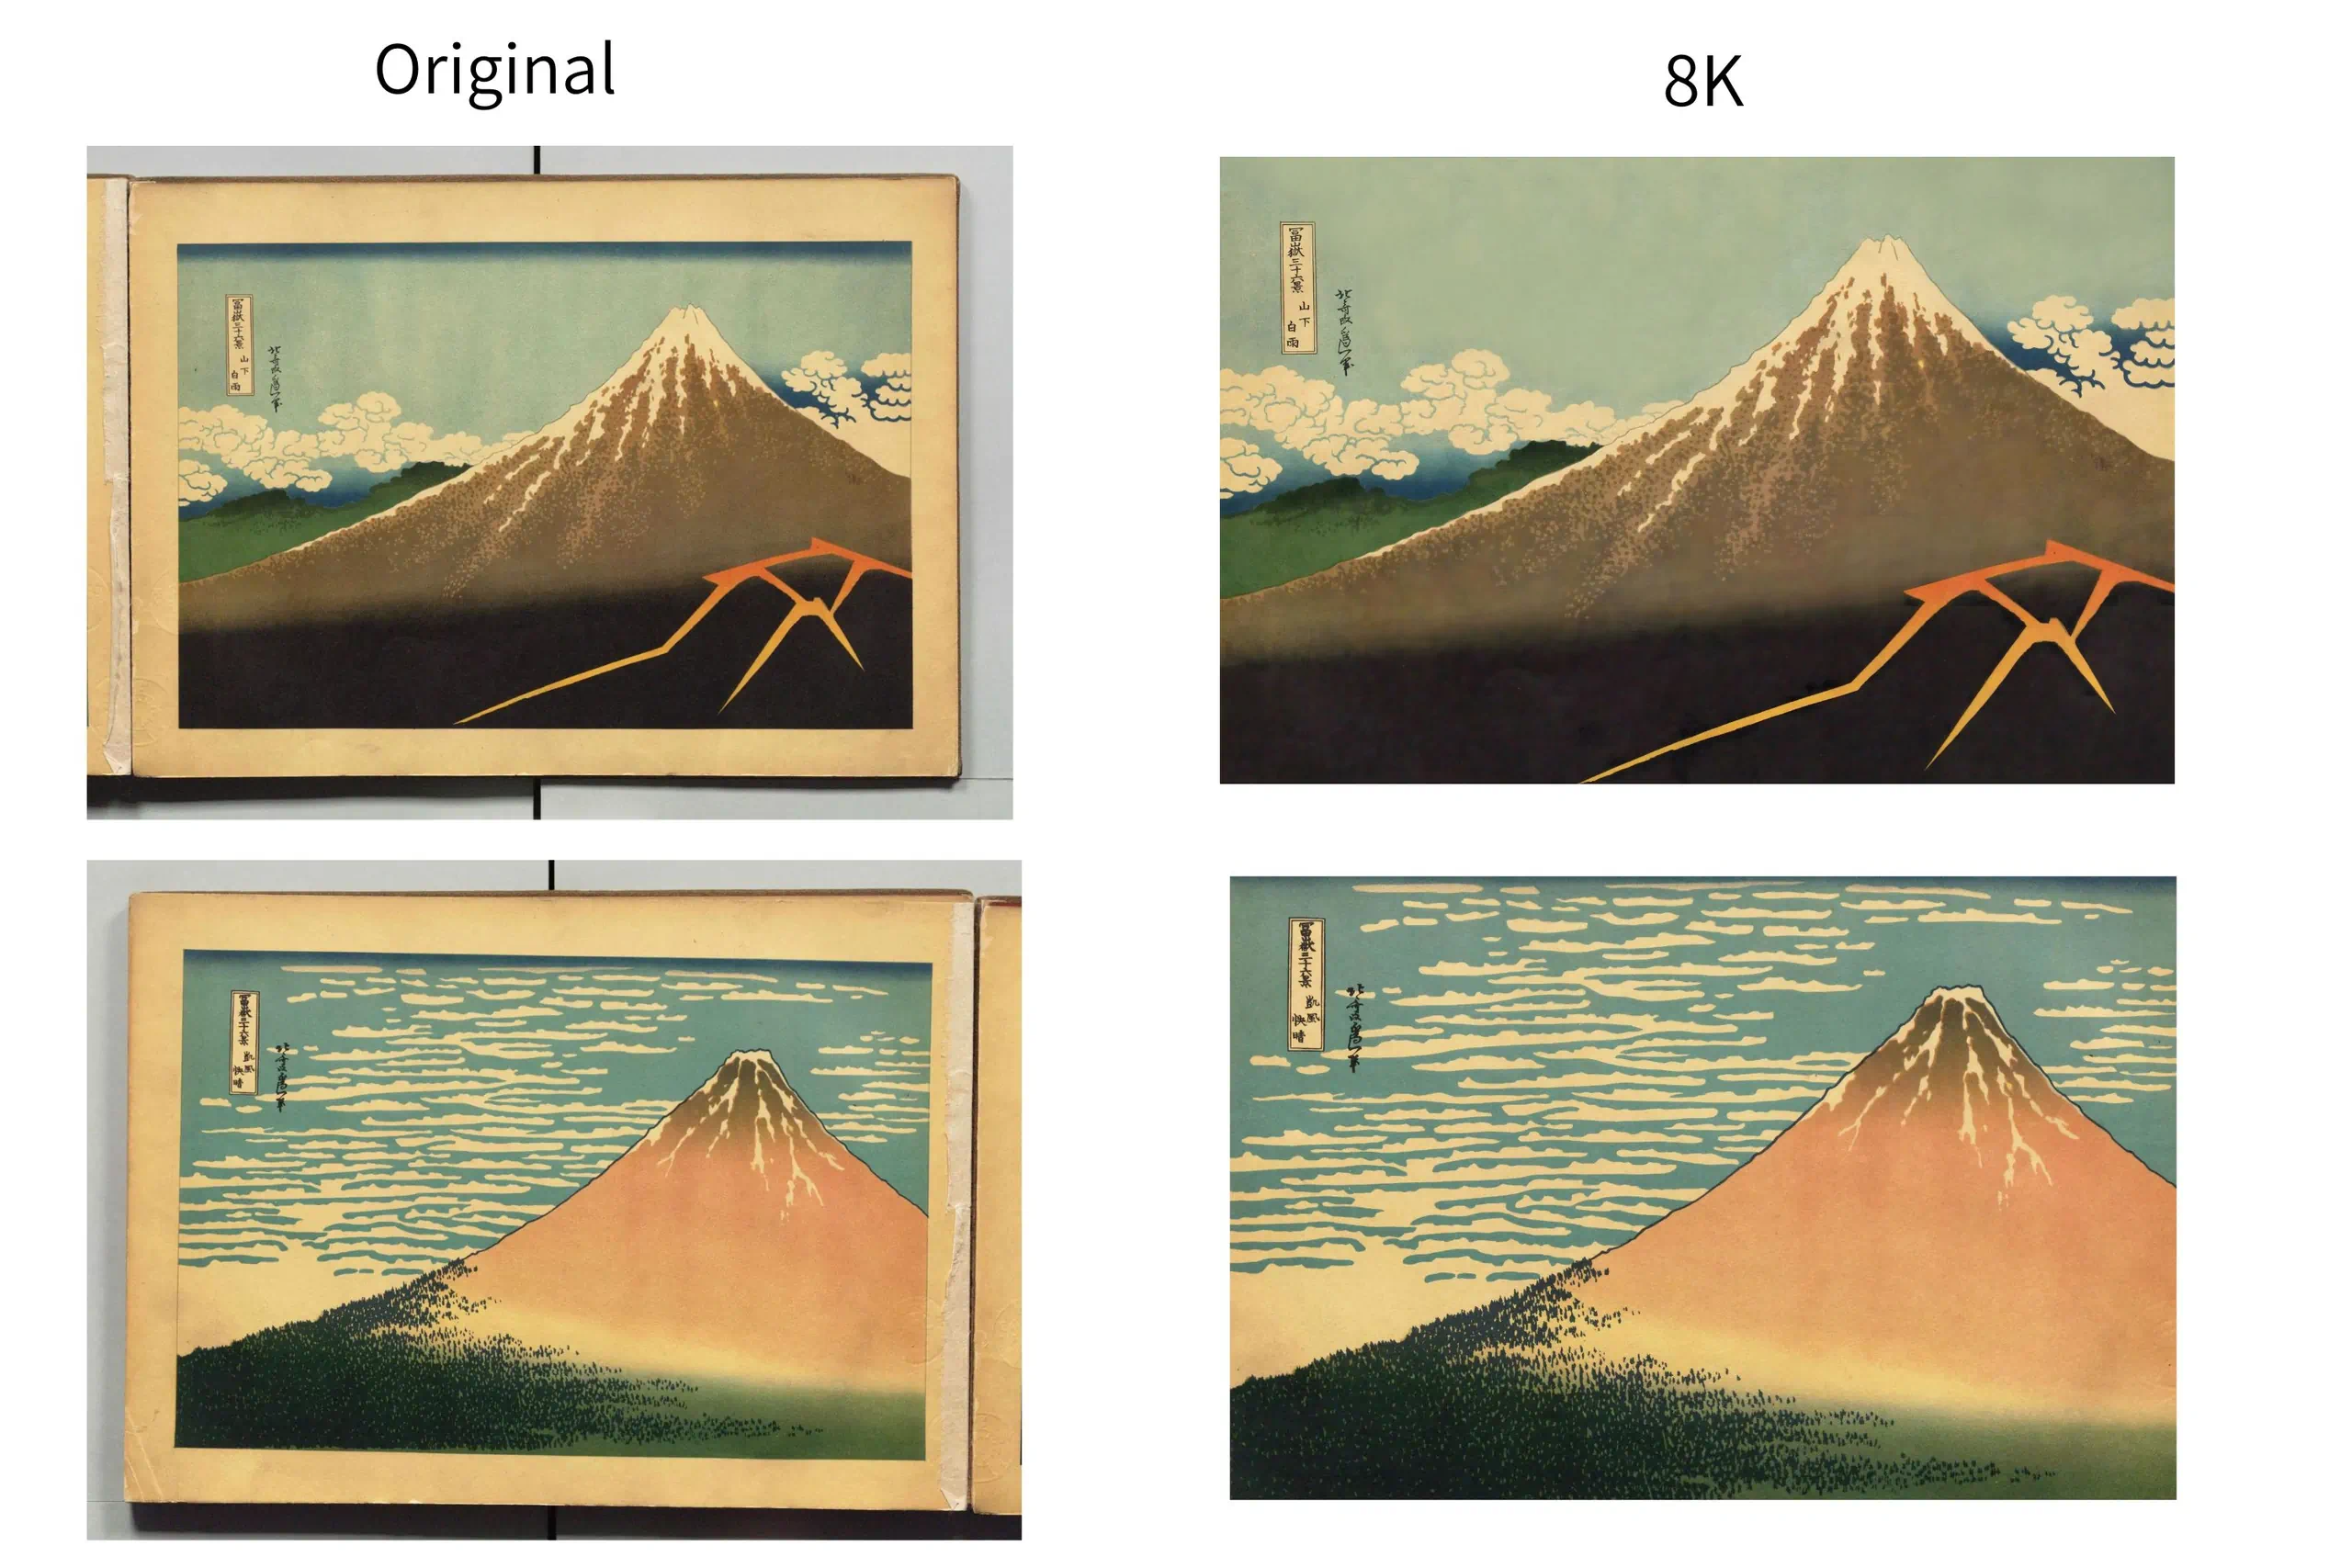
✦ The Tradition, Restored for the Digital Age ✦
ZenLine Atelier applies modern digital restoration to honor the craftsmanship of Edo-period printing — bringing carver’s precision and printer’s color back to life in high-resolution format. Instant download, print-ready.
